Save time by setting permanent links in each post.
Or Add awesome image signatures and links to posts!
These simple step by step instructions, with images, will guide you through the process of creating a blog signature or a set of links that will automatically publish with each new post on Blogger. **Click pictures to enlarge**
The first step is getting the graphics for your signature.
You can use a picture of yourself. An avatar. You can create a text graphic signature using any graphics program or you can create a custom signature by visiting
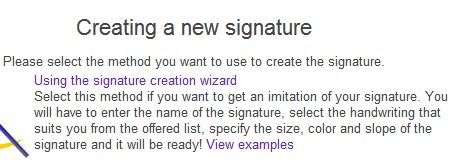
mylivesignature.com Select the
signature creation wizard to create your signature.
Once you have saved the graphic signature as an image you can copy paste the code. No need to host the image on your own server!
This is my signature. I've changed the URL in the code to go to my home page.

Once you have the graphics you want to use you're ready to create a permanent signature and links in each post.
This method is called
pre-formatting a post template. Using this method the code will already be inside your text editor whenever you click
New Post. You can decide with each post where you want it to appear, as a footer, as a header, at the head or end of each post.
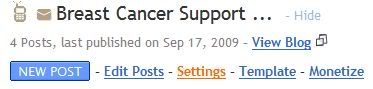
To begin: Go to your
Blogger Dashboard.
Find the blog you want to add the signature and links to and click
Settings.
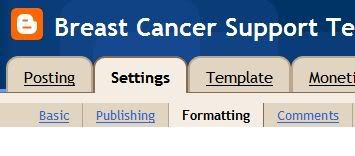
This takes you inside the
blog dashboard.
Click
Formatting.
Scroll to the bottom of the Formatting page.
You'll see the empty box that reads
Post Template.

This is the area where you'll insert the text and html to create permanent links in each post. ** Keep in mind that you should add the html (line breaks, non-breaking spaces, etc) right in this window so you won't have to bother with placement again.
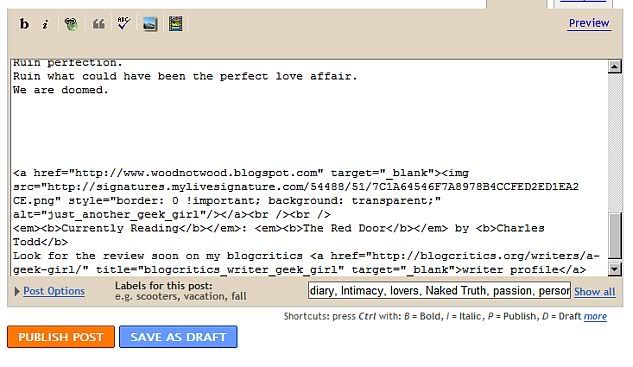
In the jpeg below you can see that I've added the signature code that links to my home page as well as a text link to my
writer's profile on Blogcritics.org. I've decided to use
Currently Reading to keep readers updated on the next book that I'll be reviewing.

I blindly added line breaks when I first put the code in, just to break up each element, then I edited it later. There is no preview on the
Post Template Formatting page. I'll explain how to do it further down.
You should make special note in the image below of the code I've used to create
image attributes.

The first attribute is
title, but replacing the word 'title' with
alt works just as well. This is important for the indexing of your images by search engines. You can read more about it on
Using Images As Links How Spiders Read Your Page
Once you've inserted your signature, images, and links into the
post editor you need to click the SAVE button just below it. If your adding a lot of links you might want to click
SAVE as you work so you don't run the risk of losing what you've already added.
When you're finished adding everything and you've hit SAVE, you should click on
POSTING and then
Create New. As soon as the post window opens you should see everything you added in the POST TEMPLATE already inside.

Now you have the option to use it as a header or to start typing above it and use it as a footer as I have.
 Editing the Post Template
:
As I said before, there is no preview for POST TEMPLATE so you'll have to open a new post and then hit preview to see how it looks. I usually adjust everything right there in the post window until it looks just as I desire. Next I (control c) copy all of it and save the post in draft as 'post template' (just in case). Then I go back into Formatting to the Post Template and delete everything out of it. I click in the window and then (control v) paste the edited version into it. I click SAVE again, go into posting and open a New Post. Now I can hit preview and make sure that everything got transfered correctly into the Post Template.
The last step in editing cannot be done until you actually publish a post. As you know the Post Window is usually larger than your actual blog template. You'll have to wait until a post goes live to see if you need to make any final adjustments.
Once you've got your Post Template set perfectly you won't have touch it again until you decide to change the links or images.
You can see my live footer on
woodnotwood
Another Useful Blogging Tip: You can use the Post Template as a place holder for links that you change often. If you want to change ads with each post, feature other blogs, link to articles on other sites or perhaps even to a related post on your own site you can add the empty html in the Post Template and just fill in the link text and URL each time you get ready to post.
If you post your content on different sites on the Internet or re-publish your older posts you should take certain precautions to insure that search engines don't see your site as part of a SPAMblog network. Read this post Avoiding Duplicate Content Penalties for more information.